Photo Retouching with GIMP - Beginner Guide & Free Alternative
This post will show you how to do photo retouching with GIMP, and another online photo retouching alternative for photo refinement. Scroll down to get a full guide.
By Jonna Updated on May 21, 2026
What is Photo Retouching in GIMP?
GIMP (GNU Image Manipulation Program) is a free, open-source, cross-platform raster graphics editor available for Windows, macOS, and Linux. It is widely regarded as a powerful, free alternative to Adobe Photoshop, designed for photo editing, retouching, digital art, image composition, and format conversion. Licensed under the GNU GPL, it supports extensive customization via plugins, scripts, and community-developed extensions.
You can use this software to manipulate photographs and images, like making transparent backgrounds, photo retouching with GIMP, and so on.
In GIMP, basic photo retouching refers to the process of manually or semi-automatically refining images to correct imperfections, improve quality, preserve details, and achieve a polished, professional look. It focuses on targeted adjustments rather than full image overhauls, using specialized tools to fix blemishes, scratches, dust, lighting issues, color fading, and unwanted elements while retaining texture and authenticity.
How to Do Photo Retouching with GIMP - Step By Step
Learning GIMP photo retouching starts with understanding its essential tools. Below is a beginner-friendly guide that can be applied to portraits like GIMP face retouching, product shots, or general photography.
Step 1. Open Your Image in GIMP
Launch GIMP, go to File > Open, and select the photo you want to retouch.
Step 2. Crop & Straighten (Basic Composition Fix)
Select the Crop Tool (icon looks like a square knife), drag to select the area you want to keep, and press Enter to apply.
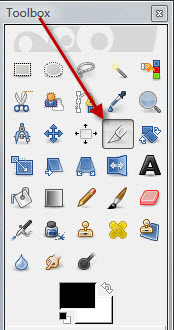
Step 3. Remove Dust, Spots, Blemishes
Select the Heal Tool from the toolbar (or press H), adjust brush size to match the flaw, hold Ctrl and click a clean area to sample, and click or paint over the spot/blemish. Then, GIMP will blend the texture naturally.
For larger flaws, you can use the Clone Tool (C) to copy clean areas over damage.

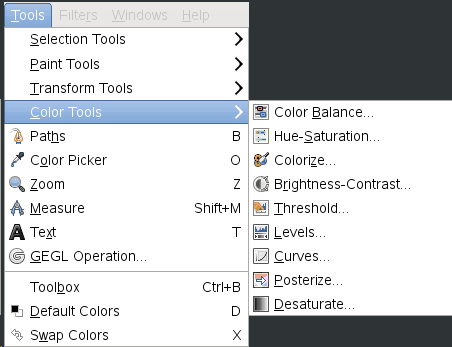
Step 4. Fix Lighting & Colors
- Brightness & Contrast: Go to Colors → Brightness-Contrast.You can adjust sliders slightly to make the image clear.
- Levels (Better for Professional Tone): Go to Colors → Levels. Then, drag the black, gray, and white triangles to improve contrast.
- Color Correction: Go to Colors → Color Balance. Here, you can fix yellowish, bluish, or faded tones.
Step 5. Sharpen Details
Go to Filters → Enhance → Unsharp Mask.You can apply low values(Amount: 0.2-0.5/Radius: 1.0-2.0). And, click OK to sharpen without overdoing it.
Step 6. Smooth Skin (for Portraits)
1. Duplicate the layer: Right-click layer → Duplicate Layer.
2. Go to Filters → Blur → Gaussian Blur. And then, set a small radius (2-5).
3. Add a Layer Mask to the blurred layer, and paint with a soft white brush only on skin areas.
This creates natural, soft skin while keeping eyes and hair sharp.
Step 7. Save Your Retouched Photo
1. Go to File → Export As.
2. Choose the target format: JPG for web / social media and PNG for transparent/high-quality
3. Click Export and save it.
Alternative Free Online Photo Retouching Tool - UltraPic
GIMP photo retouch offers full control, but some users may prefer a faster and more automated solution. UltraPic is a free online AI-powered photo editing tool for simple and quick photo retouching.
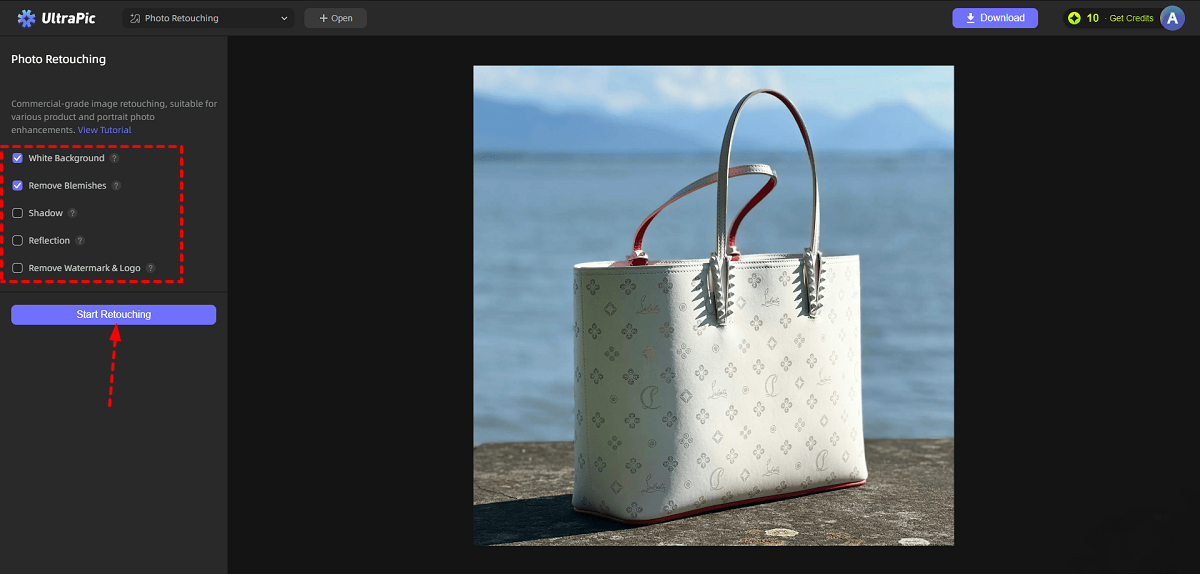
Instead of manually cloning and healing imperfections, UltraPic uses intelligent AI algorithms to detect and enhance images automatically, which is useful for beginners. Its AI Retouching helps automatically retouch images with a white background and perspective correction. It offers 5 features:
- White Background: Instantly replaces the original background with a pure white backdrop to create a polished, professional studio-style image.
- Remove Blemishes: Cleans up imperfections like dust spots, scratches, loose hairs, and minor flaws for a smoother product appearance.
- Shadow: Generates realistic shadows automatically to add depth and give the subject a more natural look.
- Reflection: Creates a soft reflection effect beneath the object for a sleek and high-end presentation.
- Remove Watermark & Logo: Easily erases watermarks, logos, and other unwanted marks from images with seamless results.
Create Studio-Quality Product Photos with AI
AI-powered high-quality image retouching is easy.
- Remove messy backgrounds in 1-click effortlessly
- Get a white background and perspective correction with AI
- Naturally adjust the light for the product
- No design or editing skills needed, instant result
Also, it comes with other powerful image editing functions:
- One-click background removal: It can precisely detect edges and remove backgrounds instantly, working great on product photos, portraits, and social media images.
- Object removal: Its Magic Eraser can remove unwanted objects without manual cloning.
- Watermark removal: It can automatically remove text, logos, lines, and semi-transparent watermarks.
- Generative filler: Use prompt texts to fill in images or replace objects in images easily.
For how to automatically remove background from product images and remove blemishes for retouching? You can follow the step below:
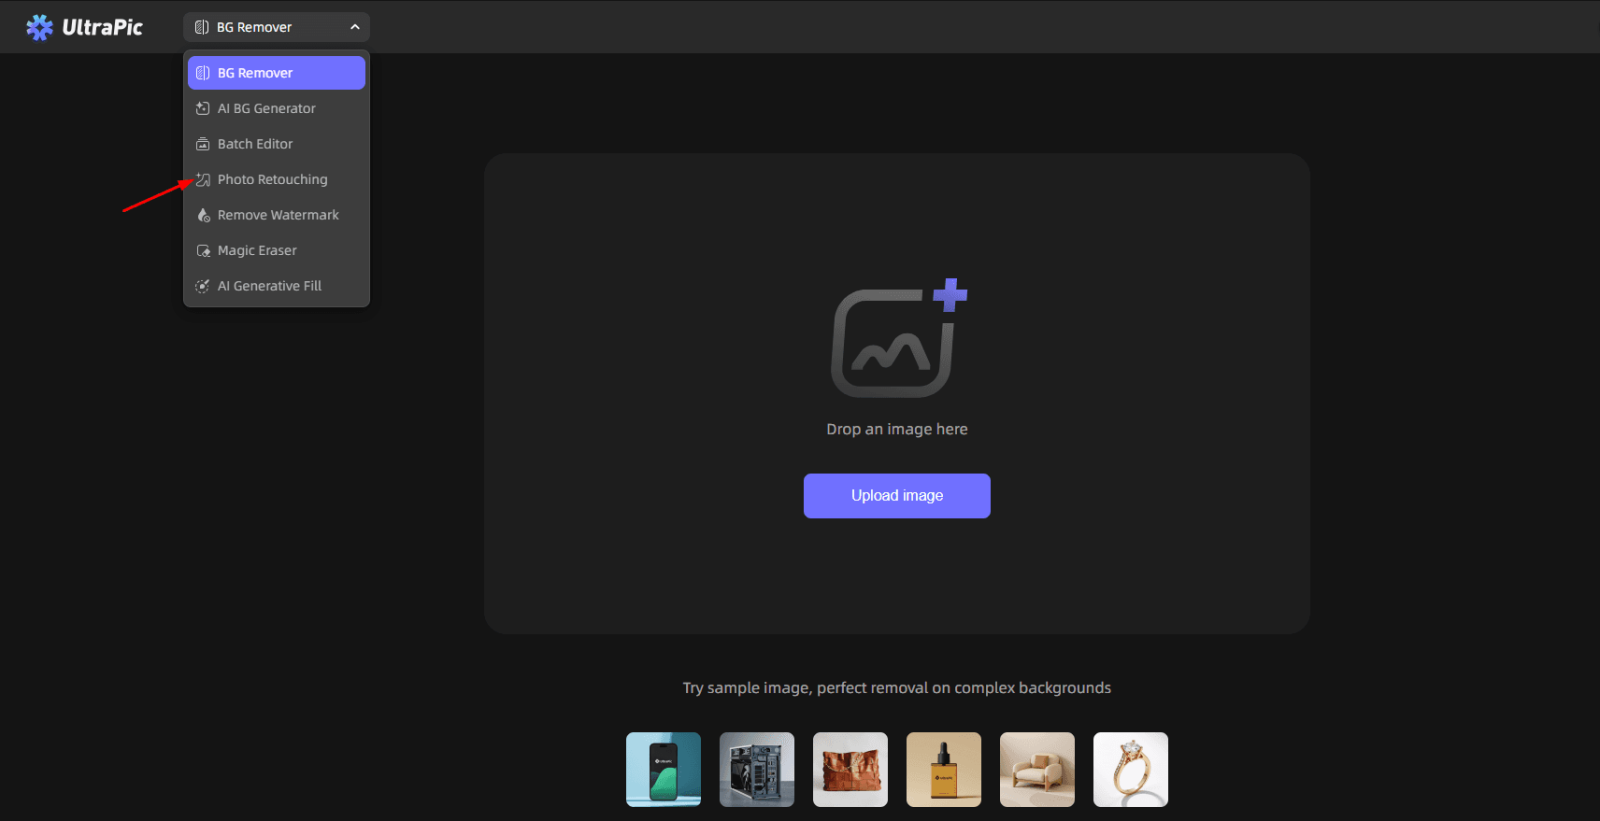
Step 1. Navigate to the UltraPic app, the best free AI tool to retouch product photos online, using a browser, and select Photo Retouching. Then, upload the image that needs to be retouched.
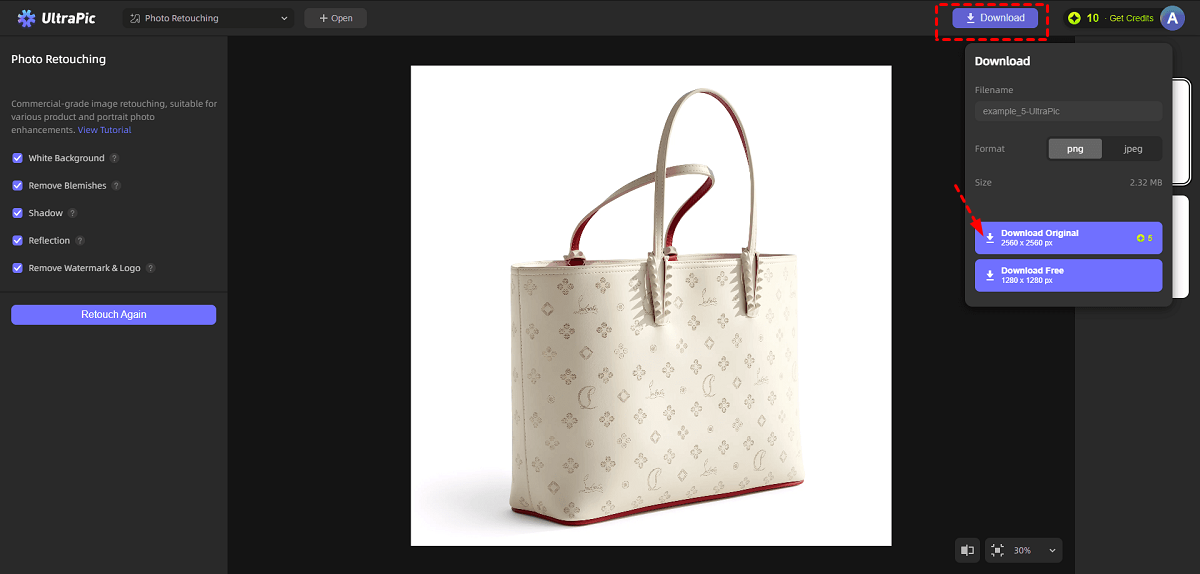
Step 2. Choose the features for photo retouching as needed. Then, click Start Retouching (click Retouch Again to generate a new result if needed).
Step 3. Click on Download > Download Original to export the retouched image with the original quality.
FAQs on Photo Retouching with GIMP
#1. How to fix blemishes in GIMP?
To fix blemishes in GIMP, use the Healing Tool.
- Select the Healing Tool from the toolbox.
- Hold Ctrl and click a clean area near the blemish to sample texture.
- Paint gently over the imperfection.
For larger areas, the Clone Tool may provide better results. Use a soft brush and low opacity to maintain natural blending.
#2. Is GIMP better than Photoshop?
GIMP and Photoshop both offer powerful editing capabilities, but they differ in accessibility and feature depth.
👉 GIMP advantages include:
- Free and open-source
- Strong layer-based editing
- Customizable interface
- Wide plugin support
👉 Photoshop advantages include:
- More advanced built-in retouching tools
- Smoother performance in high-resolution editing
- Industry-standard compatibility
- AI-driven automation features
For beginners and budget-conscious users, photo retouching with GIMP is an excellent starting point. Professionals working in commercial environments may prefer Photoshop for advanced workflows.
#3. Can you use GIMP to restore old photos?
Yes, GIMP is highly capable of restoring old photos. Old photo restoration with GIMP often involves:
- Removing scratches and dust with the Healing Tool.
- Correcting faded colors using Levels or Curves adjustments.
- Repairing torn areas with the Clone Tool.
- Enhancing contrast to restore depth.
- Reducing noise from scanned images.
Photo retouching with GIMP is particularly effective for restoration because of its detailed cloning and masking tools.
Summary
That’s all about how to perform photo retouching with GIMP. From removing blemishes to correcting colors and repairing old photographs, GIMP provides comprehensive tools for both beginners and advanced users.
For those seeking faster results, AI-powered platforms like UltraPic offer an efficient alternative. It combines automation with manual adjustments to save your time without sacrificing quality. Also, it provides you with other features like watermark removal, object erasing, or generative fill, and so on.