How to Do Photo Retouching in Photoshop & Easier Free Alternative
In this tutorial, I will list useful retouching tools from Photoshop, show you how to perform photo retouching in Photoshop, and provide a free, easier alternative to Photoshop for image retouching.
By Jonna Updated on May 21, 2026
Difference Between Photo Editing and Retouching
Photo editing, more commonly used by ordinary users or professional photographers, refers to broad adjustments applied to the entire image. These include cropping, resizing, adjusting exposure, modifying white balance, and applying color grading. Editing sets the overall tone and composition.
Photo retouching, here we are referring to basic photo retouching, which may be unfamiliar to many people, is more detailed and localized. It focuses on refining specific areas of an image to remove imperfections and enhance visual appeal. Retouching requires careful attention to texture, light, and subtle detail.
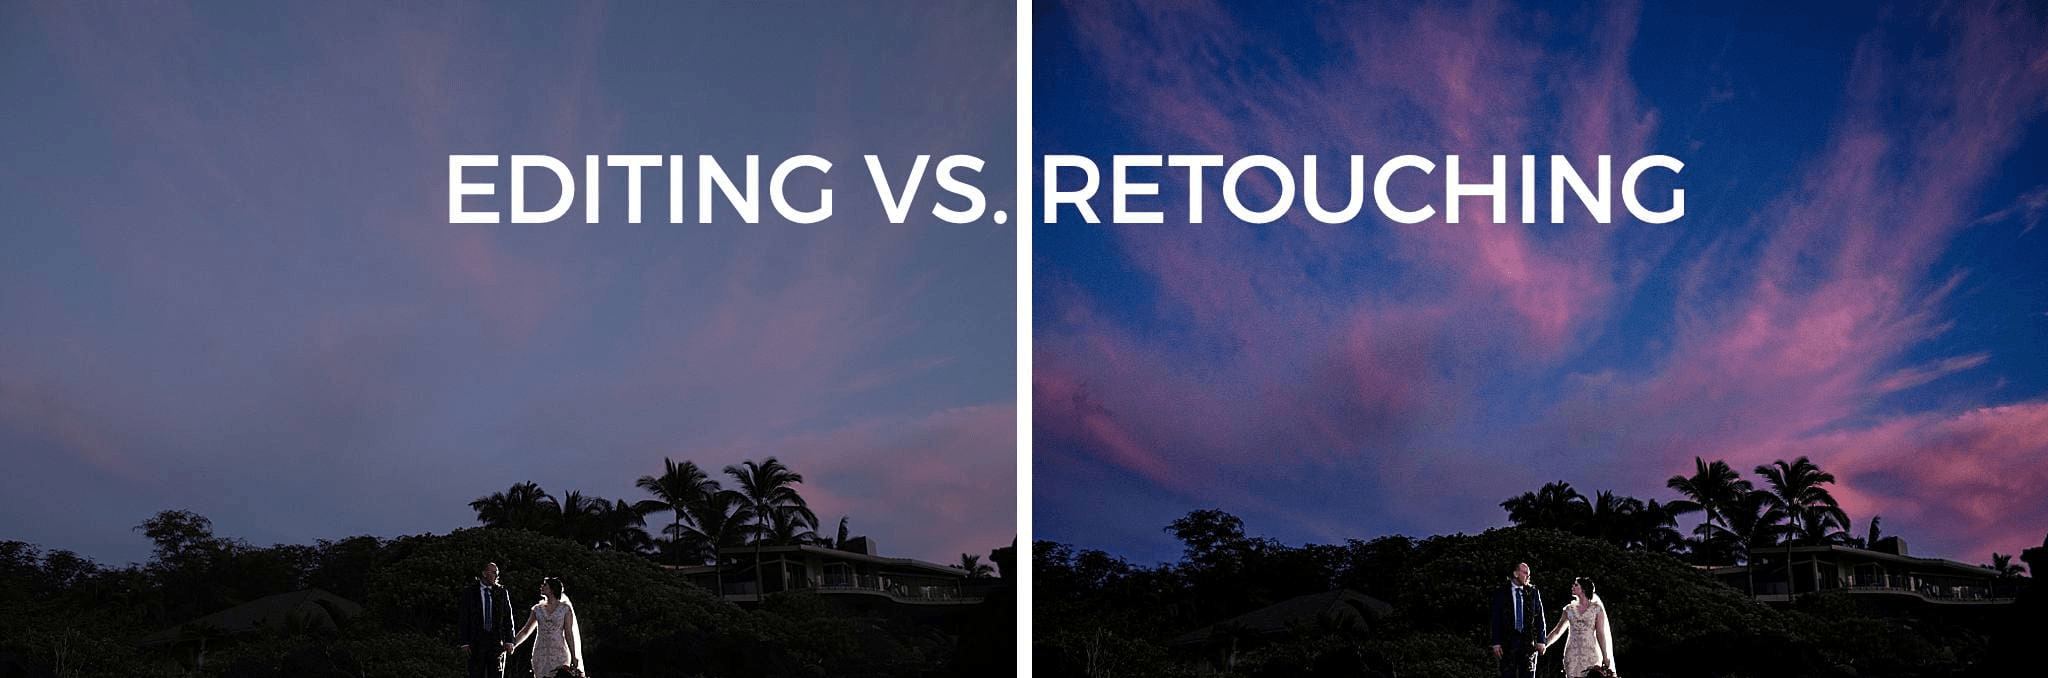
For example, editing might increase overall brightness, while retouching would remove a blemish from the subject's skin; Editing might apply a warm color tone, while retouching would refine stray hairs or soften harsh shadows under the eyes. This post aims to help you do photo retouching in Photoshop easily.
Useful Photo Retouching Tools in Photoshop
Photoshop offers an extensive toolkit for retouching. Knowing which tools to use, and when, makes all the difference. Here are the most essential tools for image retouching in Photoshop.
|
Retouching Tools in Photoshop |
Function |
Use cases |
|
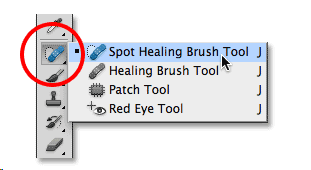
Spot Healing Brush Tool |
Automatically removes small flaws by matching the surrounding texture and color. |
|
|
Healing Brush Tool |
Allows you to sample texture manually for precise blending. |
|
|
Clone Stamp Tool |
Duplicates pixels from one area to another, ideal for larger distractions. |
|
|
Patch Tool |
Replaces selected areas with clean texture from another part of the image. |
|
|
Content-Aware Fill |
Intelligently fills removed areas with surrounding detail. |
|
|
Dodge and Burn Tools |
Lighten or darken specific areas to enhance depth and dimension. |
|
Step-by-Step Guide on Photo Retouching in Photoshop
Now, let's walk through how to do retouching in Photoshop. Here, we focus on Photoshop portrait retouching, but the principles apply broadly.
Step 1. Open Image & Duplicate Background Layer
Open your portrait in Photoshop, and right-click the Background layer > Duplicate Layer.
Step 2. Basic Cleanup with Spot Healing Brush
Select the Spot Healing Brush Tool, and set brush size slightly larger than the flaw. Click or paint over pimples, acne, blemishes, small moles, dark spots, dust, or sensor spots to do skin retouch in Photoshop.
Step 3. Remove Blemishes and Minor Imperfections
Select Healing Brush Tool, hold Alt/Option and click a clean skin area to sample, then paint over larger scars, wrinkles (keep subtle), and dark under-eye circles for natural texture blending.
Step 4. Skin Smoothing
1. Duplicate your layer, go to Filter → Blur → Gaussian Blur (Radius: 2.0-4.0, enough to blur skin).
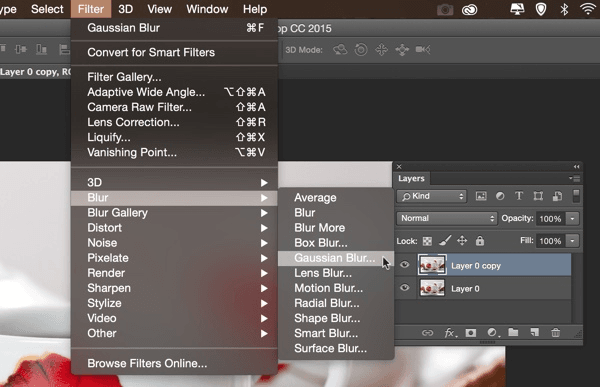
2. Hold Alt/Option → click Add Layer Mask.
3. Select a soft white brush (low opacity: 10- 30%).
4. Paint gently only on skin like forehead, cheeks, nose, chinto smooth skin while keeping details sharp for Photoshop face retouching.
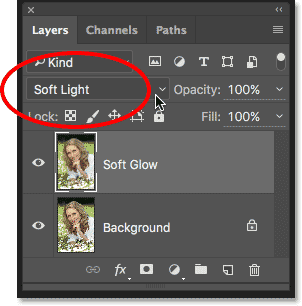
Step 5. Use Dodge and Burn for Dimension
Create a new layer set to Soft Light. Paint with a low-opacity brush to lighten highlights and deepen shadows.
Step 6. Enhance Eyes and Key Features
Subtly sharpen eyes and increase brightness slightly. Natural results are more compelling.
Step 7. Refine Hair and Edges & Apply Color Grading
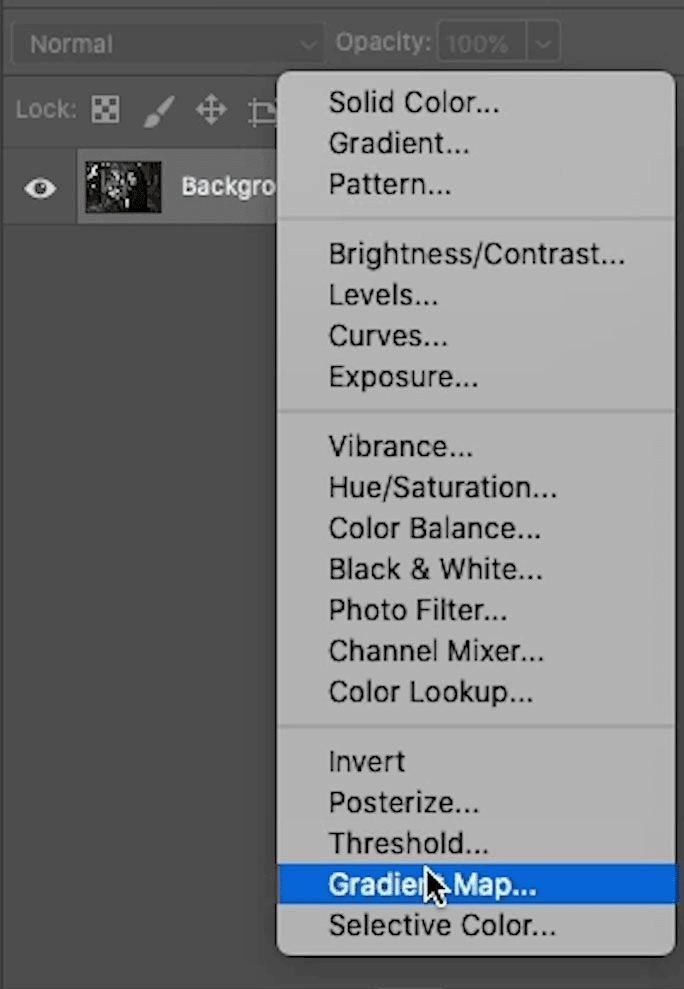
Remove stray hairs using the Healing Brush, and clean background edges for a polished finish. Use Curves, Color Balance, or Gradient Maps to unify tones, and subtle grading elevates the overall mood.
Step 8. Save Your Final Image
Go to File → Export → Export As. It is advised to choose JPG for web/social or PNG for high quality. And click Export.
Easier Free Online Photo Retouching Tool - UltraPic
While Photoshop is powerful, it's not always beginner-friendly. For users who want faster results with a minimal learning curve, UltraPic, one of the best free AI tools for product photo retouching online, provides an easier solution. UltraPic is an AI-powered photo editing tool that makes photo retouching simple and efficient. Instead of manually cloning and healing imperfections, it offers to detect and enhance images automatically with AI Retouching, which enables automatic white background and perspective correction.
- Its AI Retouching feature offers 5 functions: White Background, Remove Blemishes, Shadow, Reflection, and Remove Watermark & Logo.
- Also, it is designed with other photo editing features like 1-click background removal and background generation, batch photo editing, watermark remover, magic easing unwanted objects, generative fillers, and so on.
Create Studio-Quality Product Photos with AI
Make product images clean, professional, and conversion-ready.
- Remove messy backgrounds in 1-click effortlessly
- Generate white backdrops with AI
- Naturally adjust the light for the product
- No design or editing skills needed, instant result
You can perform free photo retouch online using this tool with the guide below:
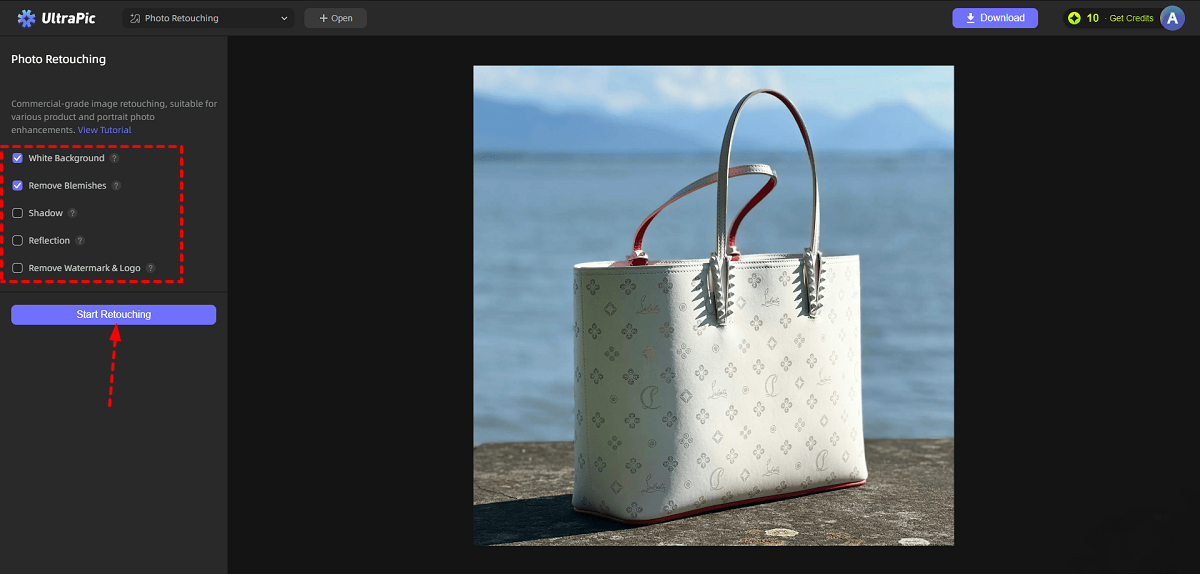
Step 1. Navigate to the Photo Retouching tool on UltraPic and upload your image.
Step 2. Select features for AI photo retouching, and then click Start Retouching.
- White Background: Seamlessly removes the existing background and replaces it with a white backdrop for a clean, studio-quality look.
- Remove Blemishes: Smooths out unwanted imperfections such as dust, scratches, stray hairs, and small defects to enhance product presentation.
- Shadow: Automatically creates a lifelike shadow effect that adds depth and makes the subject appear more natural.
- Reflection: Adds a subtle mirrored reflection beneath the object for a refined and professional visual style.
- Remove Watermark & Logo: Effortlessly removes watermarks, logos, and unwanted logos from images with minimal editing required.
For example, for how to quickly remove blemishes from product photos online, you can tick the Remove Blemishes function.
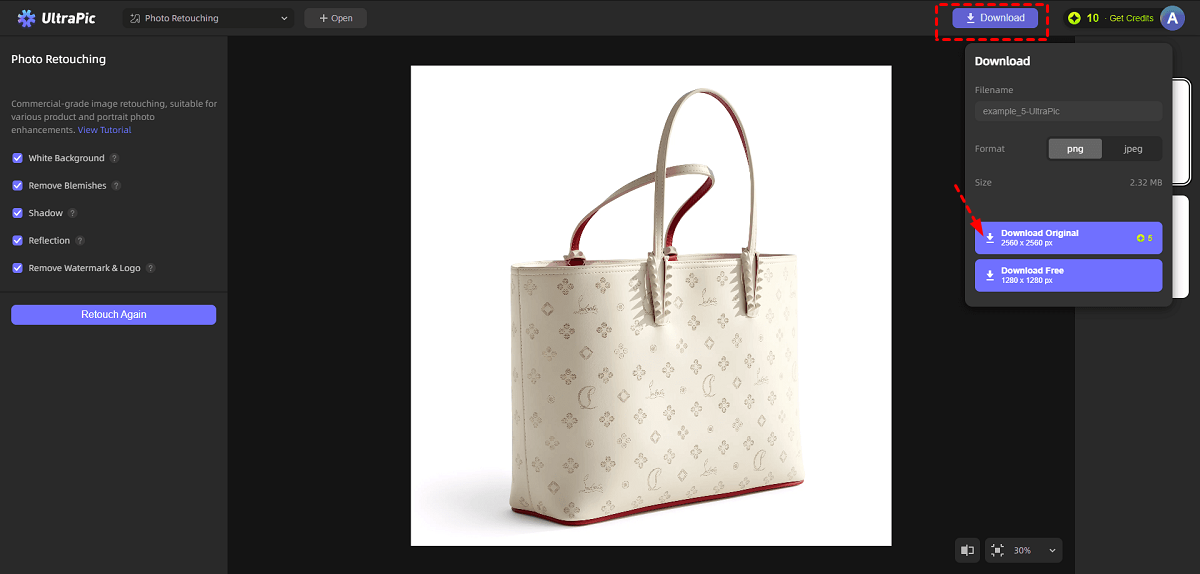
Step 3. Then, click Download to get the retouched photo.
FAQs on Photo Retouching with Photoshop
#1. How long does it take Photoshop to retouch a photo?
The time required depends on complexity. Basic retouching may take 10 to 20 minutes. High-end commercial or editorial retouching can take several hours per image.
Photo retouching in Photoshop is flexible. The more detailed the work, the longer it takes.
#2. Can Photoshop AI retouch images?
Yes, Photoshop includes AI-powered features such as Neural Filters and Content-Aware tools. These assist with skin smoothing, object removal, and color adjustments.
However, AI tools in Photoshop still benefit from manual refinement. Automated results often require fine-tuning for professional quality.
#3. How to beautify a photo in Photoshop?
- To beautify a photo in Photoshop:
- Adjust brightness and contrast.
- Correct color balance.
- Remove blemishes using Healing tools.
- Apply subtle skin smoothing techniques.
- Enhance eyes and focal points carefully.
- Add gentle color grading for mood.
Conclusion
There are plenty of tools for you to do photo retouching in Photoshop. If you want an easier tool to retouch a photo, you can try UltraPic. It is an AI background remover with white backdrop for e-commerce photos. Also, you can use this tool as a Photoshop alternative for AI background removal and generation - no installation and totally free.