Fragrance Photography Tips | How to Capture Scents Through Visuals
In this guide, we will explore practical strategies for mastering fragrance photography, including essential tips for creating stunning perfume photos and a successful fragrance photoshoot.
By Jonna Updated on March 13, 2026
Why is Fragrance Photography Important?
Fragrance is an intangible luxury - an invisible experience that evokes emotion, memory, and desire. Yet, in the digital age, where consumers shop online and brands compete for attention, fragrance must be translated into a tangible, visually striking story. This is where fragrance photography comes in: it is the art of capturing the essence of a scent through imagery, turning abstract notes into concrete visuals that resonate with audiences.
Unlike product photography for clothing, electronics, or even cosmetics, fragrance photography has a unique challenge: it must communicate something that cannot be seen or touched. A bottle of perfume is more than just a container - it is a vessel for a feeling, a lifestyle, and a sensory experience. The best fragrance photos don’t just show a bottle; they make the viewer imagine the scent, evoke the mood it creates, and feel compelled to reach for it.
In this comprehensive guide, we will dive deep into the world of fragrance photography, covering everything from the basics of equipment and setup to advanced styling techniques and retouching tips.
Part 1. Fragrance Photography Tips
Creating visually striking perfume photos requires thoughtful planning and creativity. The following perfume photography ideas at home can help perfume photographers and product stylists create images that communicate the essence of a fragrance.
Tip 1. Align Perfume Photography with Target Audience
Before taking a single photo, it is important to understand the target audience for the fragrance. Different audiences respond to different visual styles. Consider the factors when planning a fragrance shoot, like age group and lifestyle of the target customers, brand identity and market positioning, the emotions the fragrance intends to evoke, and cultural aesthetics that appeal to the audience.

The style of your fragrance photoshoot should align with your target audience. For example:
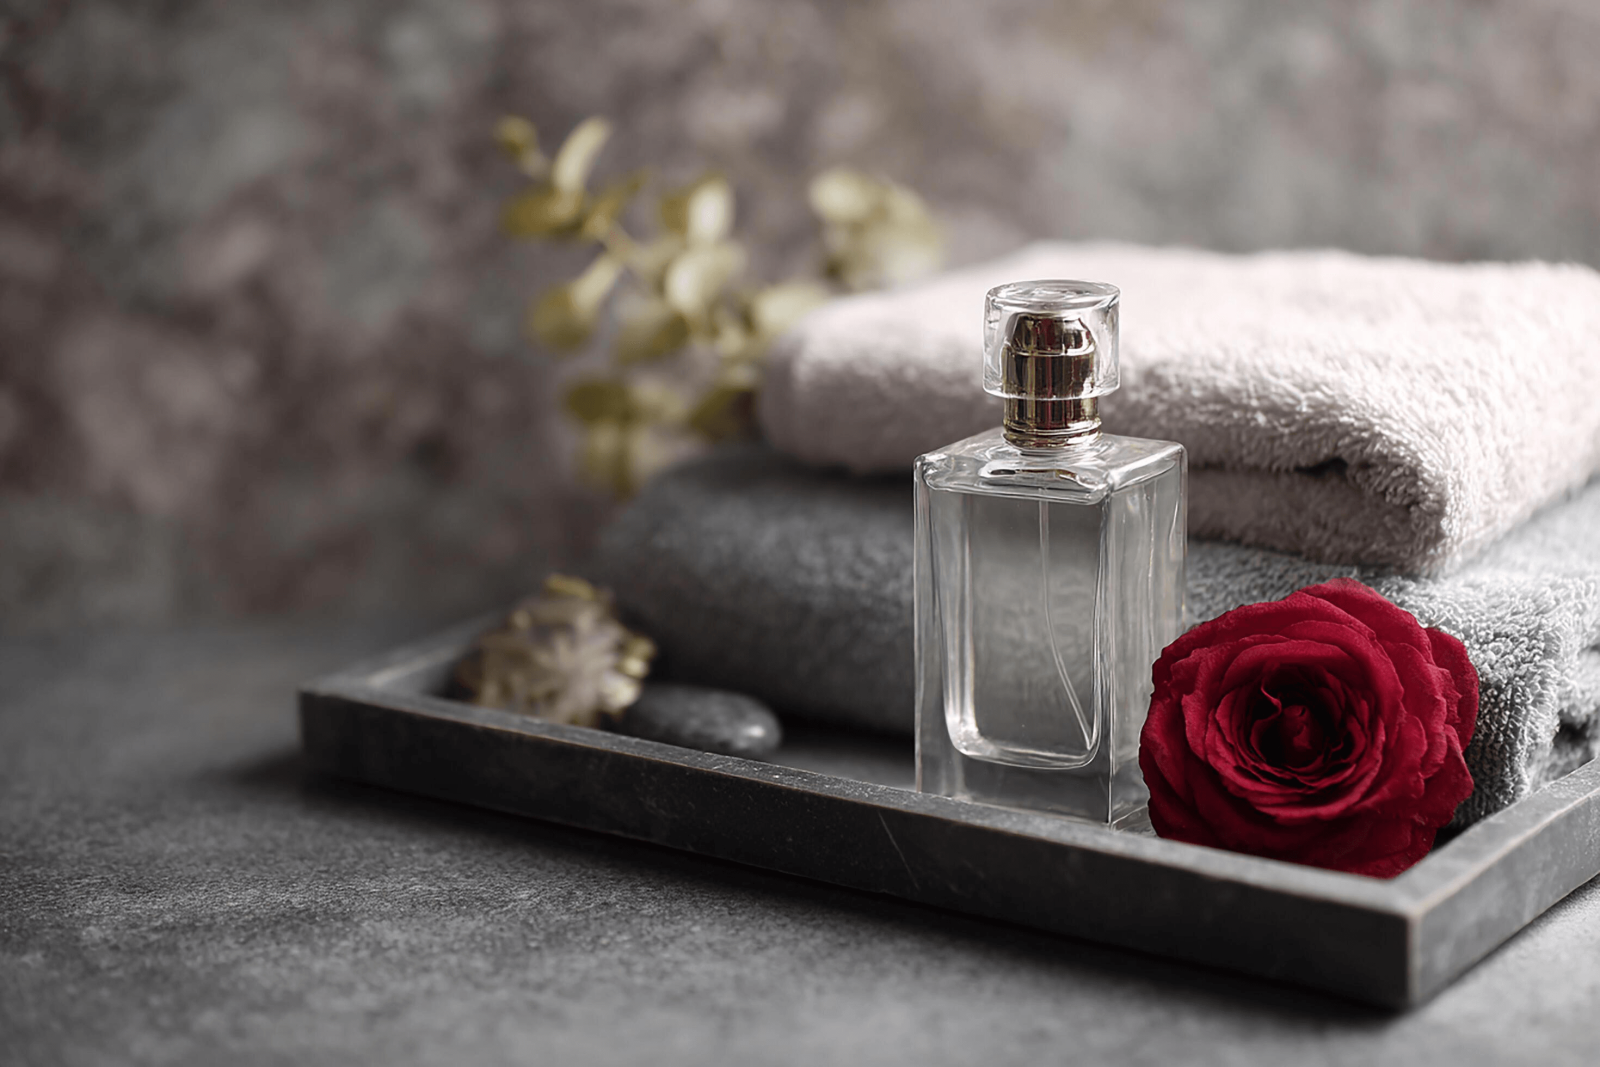
- Luxury consumers: Respond to elegant, sophisticated imagery- think soft lighting, neutral backgrounds, and high-end props (crystal, silk, gold).
- Millennial/Gen Z shoppers: Prefer vibrant, relatable, and social media-friendly shots- bright colors, casual styling, and lifestyle elements (e.g., a perfume on a vanity, next to a coffee cup).
- Men’s fragrance buyers: Often gravitate toward bold, rugged, or minimalist imagery- dark backgrounds, leather props, or outdoor settings (e.g., a cologne on a wooden desk, against a stone wall).
- Natural/organic fragrance fans: Appreciate earthy, soft visuals- neutral tones, natural materials (wood, linen, plants), and soft, diffused lighting.
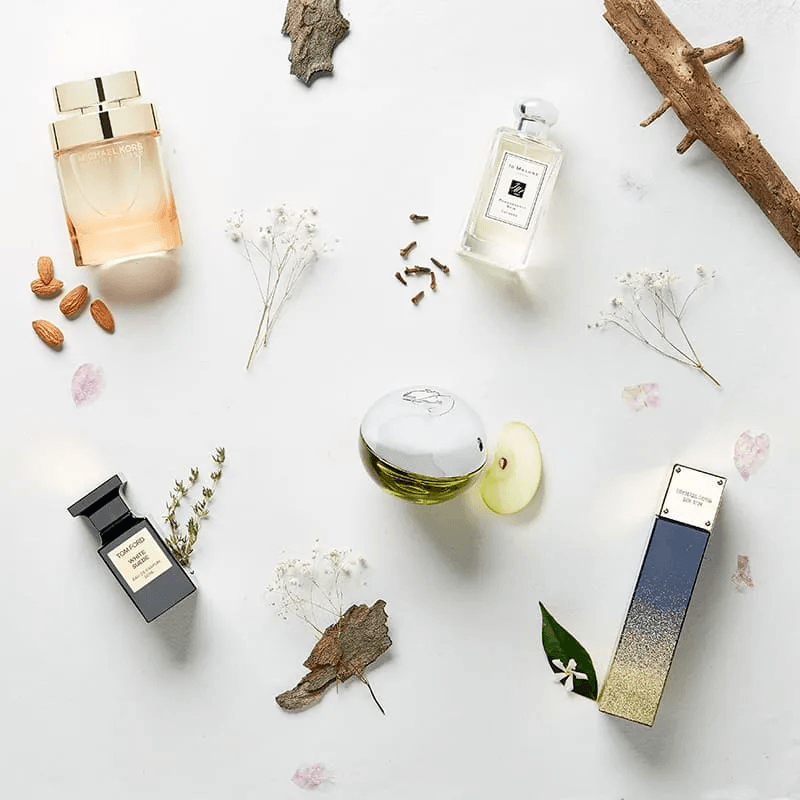
Tip 2. Set Right Backgrounds and Props
Backgrounds and props are powerful storytelling tools in perfume photography. They help visually represent fragrance notes and build an atmosphere around the product.
Common prop ideas for fragrance shoots include:
- Flowers and botanical elements
- Fruits representing fragrance notes
- Water splashes or mist for freshness
- Marble or glass surfaces for luxury aesthetics
- Fabric textures for softness and elegance
For instance, floral fragrances may be photographed with petals, soft fabrics, or pastel backgrounds. Woody fragrances often appear alongside natural textures such as wood, stone, or leather.
Tip 3. Get Essential Equipments
Professional fragrance photography often requires specialized equipment to capture reflections, transparency, and fine details in glass perfume bottles. Essential perfume bottle photography equipment typically includes:
- A high-resolution camera with manual controls
- Macro or prime lenses for sharp product details
- Softbox lights or diffusers for soft lighting
- Reflectors to control highlights and shadows
- Tripods for stable shooting
Lighting is particularly important when photographing perfume bottles. Glass surfaces can easily create unwanted reflections or glare. Soft diffused lighting helps maintain clarity while highlighting the bottle’s shape and texture. Using reflectors also allows photographers to create subtle highlights that add depth and dimension to the image.
Tip 4. Choose Different Styles for Different Fragrance Types
Not all perfumes should be photographed the same way. Different fragrance families have distinct personalities that should be reflected in the photography style. For example:
- Fresh fragrances may use bright lighting and water elements.
- Floral perfumes often feature soft colors and romantic compositions.
- Woody scents may incorporate earthy textures and darker tones.
- Oriental fragrances frequently appear in dramatic lighting with luxurious props.
Matching visual style with fragrance type helps viewers intuitively understand the scent category. It makes the perfume product photography feel more immersive and meaningful.
Tip 5. Avoid Common Mistakes in Fragrance Photography
Even experienced photographers occasionally encounter challenges when shooting perfume bottles. Being aware of common mistakes can help improve image quality. Common issues in perfume photoshoots include:
- Harsh reflections on glass surfaces
- Dust or fingerprints on the bottle
- Poor lighting that flattens the image
- Overly cluttered backgrounds
- Misaligned bottle labels
Before each shot, carefully clean the bottle and inspect it under lighting. Even small dust particles can become visible in high-resolution images. Additionally, keep the composition simple and balanced. A minimalistic approach often produces more elegant fragrance images.
Part 2. Step-by-Step Guide to Shooting Fragrance Photos
Now that you have your equipment ready, it’s time to start shooting. Follow this step-by-step guide to capture stunning fragrance photos.
Step 1. Plan visual concept. Define the mood and story of the fragrance. Decide on the background, props, lighting style, and color palette before setting up the shoot.
Step 2. Prepare shooting area. Clean the shooting surface and arrange the background carefully. Make sure the environment is free from dust or reflections that could appear in the image.
Step 3. Position perfume bottle. Place the bottle in the center of the composition or follow the rule of thirds for a more dynamic layout.
Step 4. Set up lighting. Use soft diffused lighting to highlight the bottle while avoiding harsh reflections. Adjust reflectors to control shadows and create depth.
Step 5. Arrange props and styling elements. Add props such as flowers or stones that represent the fragrance notes. Ensure they complement the bottle rather than dominate the scene.
Step 6. Adjust camera settings. Use a low ISO for maximum image quality and a narrow aperture to maintain sharpness across the bottle.
Step 7. Take multiple shots. Experiment with angles, lighting adjustments, and composition variations. Capturing several options provides flexibility during editing.
Part 3. Post-Processing for Fragrance Photography
Even the best photographs often require post-processing to achieve a polished, professional look. Editing allows photographers to correct lighting, remove imperfections, and enhance colors. Modern AI photo editing tools can significantly simplify this process. Instead of spending hours manually retouching images, photographers can use intelligent editing platforms that automate many of these adjustments.
UltraPic is an AI-powered image editing platform designed to simplify post-processing tasks for product photographers.It includes several useful features for editing perfume product photography.
Create Studio-Quality Product Photos with AI
Make product images clean, professional and conversion-ready.
- Remove messy backgrounds in one click effortlessly
- Generate eye-catching custom backdrops for photos
- Boost clicks and sales with better product images
- No design or editing skills needed, instant result
- One-click background removal - Automatically isolates the perfume bottle and removes distracting backgrounds.
- Background generation - Generates custom or studio-quality backgrounds in seconds.
- Photo retouching - Perfect, color-calibrate liquid/glass, and adjust symmetry to create realistic sprays.
- Object removal - Easily remove dust spots or reflections, or remove unwanted objects.
- Color and lighting adjustment - Enhances brightness, contrast, and saturation to improve image quality.
In the End
Fragrance photography is more than just taking a photo of a bottle - it’s about translating an intangible scent into a visual story that evokes emotion and desire. By combining technical skill with creative vision, you can create stunning fragrance photos that showcase the bottle’s design, highlight the fragrance’s personality, and connect with your audience.
Additionally, post-processing tools like UltraPic can help refine photos and achieve a polished, professional look. You can use it to do basic photo retouching or remove unwanted objects from a picture easily.